Checklists are powerful tools that help us stay organized and ensure that we don’t miss important steps or tasks. That is why learning how to make a checklist correctly is essential.
Whether you’re planning an event, managing a project, or simply trying to streamline your daily routine, a well-designed checklist can make a significant difference in your efficiency and productivity.
In this comprehensive guide, we will walk you through the process of creating an effective checklist from start to finish. You can also get free checklist templates to use and edit to make your own. So, let’s get started!
Article Outline
Why Checklists Are Important
Checklists play a crucial role in various scenarios, both personal and professional. They help minimize errors, enhance productivity, and improve overall performance.
By providing a structured approach to tasks and projects, checklists ensure that important steps are not overlooked or forgotten.
They act as reliable guides, keeping us on the right track and increasing our confidence in completing complex or time-sensitive activities successfully.
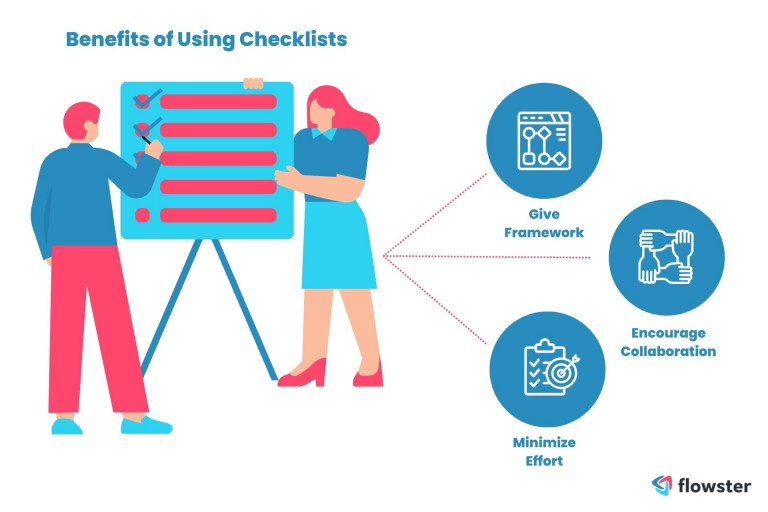
Benefits of Using Checklists
Now that you understand the significance of a checklist, let’s look at some of the advantages of using one.
Give Framework
First, checklists provide structure. They break down complex tasks or projects into manageable steps, making them less overwhelming and easier to tackle.
Additionally, checklists ensure consistency. By following the same set of steps each time, you reduce the likelihood of errors and increase the quality of your work.
Encourage Collaboration
Checklists also promote collaboration. In team settings, they serve as communication tools, ensuring that everyone is on the same page and aware of their responsibilities.
Moreover, checklists enhance accountability. They serve as a tangible record of the progress and tasks completed, allowing for easy tracking and evaluation of progress.
Minimize Effort
Another advantage of checklists is their ability to save time. By having a predefined list of tasks and checking boxes, you can work more efficiently without having to constantly remember or think about what needs to be done next.
This not only increases productivity but also reduces stress and mental fatigue.

Types of Checklists with Free Templates
There are various types of checklists, each serving a specific purpose. Here are a few examples to get you started on your templates.
Simply click the “Complete Task” button to begin using your free templates. You can also edit it to fit your business processes.
If you need anything else, there are more templates available on the Flowster Marketplace.
Task Checklist
Task checklists are commonly used to break down large tasks into smaller, actionable steps. They are especially useful when the order of tasks is important or when multiple people are involved in the process.
Executive Assistant Inbox and Calendar Management Template
Use our Executive Assistant Inbox and Calendar Management Template to keep your executive assistant organized. The template includes workflows for managing calendars, inboxes, and messages. You can save time and energy by filtering out email that does not require your attention.
For businesses looking to optimize high-level support without committing to a full-time hire, a Fractional Executive Assistant can provide expert assistance while efficiently managing key tasks and workflows.
Project Checklist
Project checklists help manage and monitor the progress of a project. They outline and track key milestones, deliverables, and deadlines, ensuring that nothing falls through the cracks during the project’s lifecycle.
Effectively Manage Your Marketing Projects Template
Use this template to get step-by-step instructions on how to manage your marketing projects. Ensure that your marketing managers promote your products or services in accordance with best practices.
Checklist for Specific Use
Other types of checklists include event planning checklists, travel checklists, and such things as daily routine checklists. Each serves a unique purpose, but the underlying principle remains the same – using to-do lists to provide a systematic approach to tasks and ensure thoroughness.
Daily Routine Tasks Management
This template will assist you in managing your daily and weekly routines so that you can be more efficient and productive. You can tailor these checklists to your specific requirements.
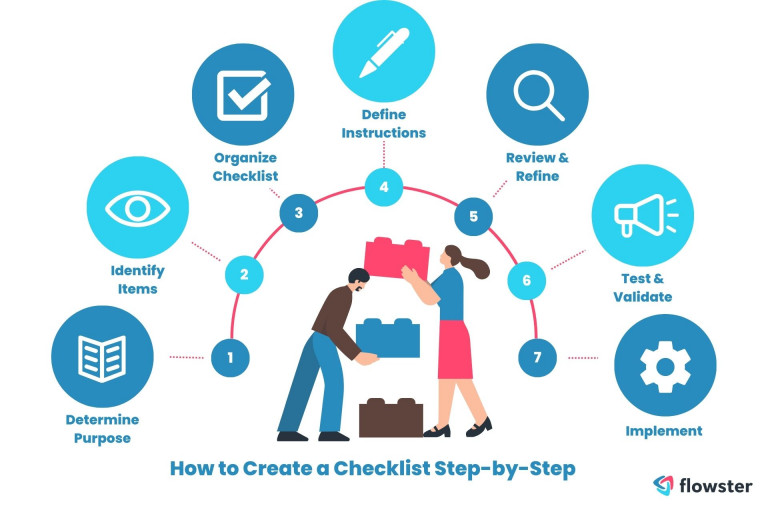
How to Create a Checklist Step-by-Step
Now that you understand the significance of a checklist and its various types, it is time to learn how to create an effective checklist from scratch.
Step 1: Determine the Purpose of Your Checklist
Before diving into the checklist creation process, it’s important to clearly define the purpose of your checklist. What specific goal or objective do you want to achieve?
Identifying the purpose will guide you in determining what tasks or items should be included in the checklist and how to structure and create the list of items for them effectively.
For example, if you’re creating a checklist document for event planning, the purpose might be to ensure that all necessary preparations and logistics are in place.
On the other hand, if you’re creating a checklist for a marketing campaign or business process, the purpose could be to track and measure key performance indicators at each stage.
Step 2: Identify the Items to Include
Once you’ve defined the purpose of your checklist, it’s time to brainstorm and identify all the items or tasks that need to be included.
Start by listing the major components or steps required to create a checklist and achieve your goal. Then, break down each major component into smaller, actionable tasks.
For instance, if you’re creating a checklist for event planning, the major components might include venue selection, guest list creation, catering arrangements, table decoration, and entertainment arrangements.
Under each of these components, you would further break down the tasks involved. For venue selection, tasks could include researching potential venues, contacting them for availability, and visiting the shortlisted options for evaluation.
Ensure that you consider both major and minor tasks, as even seemingly small details can have a significant impact on the progress and overall success of your endeavor that day.
Step 3: Organize the Checklist
Organizing your checklist is crucial to ensuring clarity and ease of use.
Consider grouping related tasks together and organizing them under appropriate categories or subcategories. This helps maintain a logical flow and makes it easier to navigate your way through important tasks on the checklist.
You can also use hierarchies to organize and create a visual structure. For example, you might choose to have main categories labeled with H1 headings, subcategories labeled with H2 headings, and individual tasks as bullet points under each subcategory.
By organizing content in your checklist thoughtfully, you make it more intuitive and user-friendly to read, create, and search through, allowing anyone who refers to it to quickly find the information they need.

Step 4: Define Clear Instructions
There should be clear and concise instructions next to each item on your checklist.
Use action verbs to indicate what needs to be done for each task. Be specific in your instructions, providing additional details, images, or specifications when necessary.
For example, instead of writing “Contact vendors,” specify the type of vendors to be contacted and include any specific information they should be provided with.
Clear instructions leave no room for ambiguity or misinterpretation, ensuring that tasks are completed accurately.
Step 5: Review and Refine the Checklist
Before finalizing your checklist, it’s essential to review and refine it.
Take the time to go through each item and ensure its accuracy and relevance. Seek feedback from colleagues or team members who might have valuable insights or can share their suggestions for improvement.
Consider conducting a trial run with a small group to test the checklist’s effectiveness. Their feedback can help identify any missing tasks, confusing instructions, or potential improvements.
Be open to making the necessary adjustments to optimize the checklist’s usability.
Step 6: Test and Validate the Checklist
Once you have refined the checklist based on feedback, it’s time to test and validate it in a real-world scenario.
Implement the checklist during an actual project or task and evaluate its performance. Observe how well it guides you through the process and whether any adjustments are needed.
As you use the completed checklist, take note of any areas where it falls short or where improvements can be made.
Continuous iteration and refinement are key to ensuring that your checklist tool remains effective and relevant over time.
Step 7: Implement and Use the Checklist
After thorough testing and validation, it’s time to implement the checklist template and integrate it into your routine or project management processes. Ensure that all relevant stakeholders are aware of the checklist template’s existence and understand how to access and use it.
Consistent usage is crucial for reaping the benefits of a checklist. Make it a habit to refer to the checklist regularly and diligently follow the defined steps.
Encourage team members or colleagues to do the same to ensure consistent and standardized approaches to tasks or projects.
Use Flowster's AI-Driven Automation to Instantly Create Checklists
Common Mistakes to Avoid
While creating a checklist, it’s important to be aware of common mistakes that can compromise its effectiveness. Avoid the following pitfalls:
- Overcomplicating the checklist: Keep the checklist simple and straightforward. Avoid unnecessary complexity that might confuse or overwhelm users.
- Being too vague: Ensure that instructions are clear and specific. Ambiguity can lead to misunderstandings and errors.
- Failing to update the checklist: As processes evolve, tasks change, or new requirements arise, update your checklist accordingly. An outdated checklist can lead to inefficiencies or missed steps.
- Not seeking input from relevant stakeholders: involve those who will be using the checklist in its creation. Their insights and perspectives can help identify blind spots and improve the checklist’s effectiveness. Collaborative input ensures that the checklist caters to the needs and preferences of all stakeholders.
- Neglecting to prioritize tasks: If certain tasks have dependencies or are time-sensitive, prioritize them accordingly in the checklist. This helps in ensuring that critical steps are addressed in the correct sequence.
- Including unnecessary tasks: Avoid cluttering the checklist with tasks that are not essential to the overall goal. Focus on including tasks that directly contribute to the successful completion of the project or activity.
- Ignoring user feedback: Continuously seek feedback from users of the checklist and be receptive to their suggestions for improvement. User feedback can provide valuable insights and help refine the checklist over time.

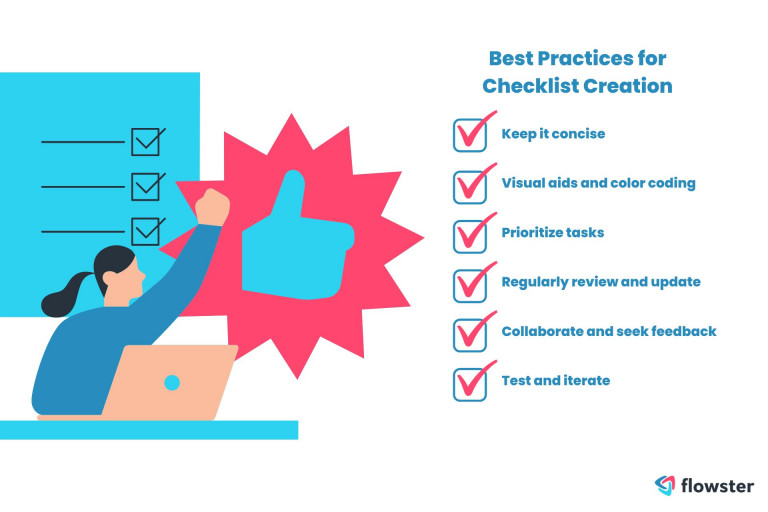
Best Practices for Checklist Creation
To create effective checklists, consider the following best practices:
- Keep it concise: Aim for brevity and clarity in your checklist. Long, convoluted checklists can be overwhelming and difficult to use effectively.
- Visual aids and color coding: Incorporate visual aids or color coding to enhance the checklist’s readability and usability. Highlight important information or use symbols to draw attention to critical tasks or milestones.
- Prioritize tasks: Assign priorities to tasks based on their urgency or importance. This helps users understand which tasks require immediate attention and which can be addressed later.
- Regularly review and update: Schedule regular reviews of your checklist to ensure it remains up to date. As circumstances change, tasks may need to be added, modified, or removed. Keep the checklist relevant and accurate.
- Collaborate and seek feedback: Involve relevant stakeholders in the checklist creation process and encourage their feedback. Collaborative input leads to a checklist that aligns with the needs and preferences of the users.
- Test and iterate: Test the checklist in real-world scenarios and be open to making improvements based on user experiences and feedback. Continuous iteration helps refine the checklist’s effectiveness.
Conclusion
Creating a checklist is a valuable practice that can significantly improve your organization, efficiency, and overall performance.
By following the simple steps outlined in this comprehensive guide and implementing best practices, you can create checklists that serve as reliable tools in various aspects of your life.
From event and trip planning to project management, a well-designed checklist ensures that you stay on track, minimize errors, and achieve desired outcomes.
So why wait? Start creating your own checklists today and get ready to experience the benefits firsthand.
With careful consideration of purpose, thoughtful organization, clear instructions, and regular review and refinement, your checklists will become indispensable assets in your personal life, business, and professional endeavors.
Ready to create your first checklist template?
Start from scratch to make an automated checklist or workflow template, or look through our templates in Flowster’s Marketplace.
Want help? Use our “Done for You” service to let our experts build custom workflows for you.
Related Articles
Would you like to learn more? See our other informative articles.
How to Use AI to Easily Create and Maintain SOPs for Your Business
Root Cause Analysis: How to Solve Problems Effectively
How to Create a Winning Business Playbook in 2023: The Ultimate Guide


10 Responses
Thank you hopefully this site really helps me get hired because you just taught me how to make project list hmmm 🤔
An excellent article! It has helped me design a checklist for my research on Artificial Intelligence and Broadcast Media Sustainability in Nigeria.
Please what is the APA citation for this article?
This guide is incredibly helpful! The free checklist templates are a fantastic bonus—I can’t wait to start using them to organize my tasks better. Thanks for breaking everything down so clearly!
This guide is incredibly helpful! I love the idea of using checklists to stay organized. The free templates you provided are a great bonus. I can’t wait to start implementing these tips in my own workflow! Thank you for sharing!
This guide is super helpful! I love the idea of using templates to streamline the checklist-making process. Can’t wait to try out the suggestions and improve my organization skills. Thanks for sharing!
This guide is super helpful! I love how you included free checklist templates; they make it so much easier to get started. The tips on organizing tasks really inspired me to streamline my workflow. Thanks for sharing!
I’ve always struggled with creating effective checklists, but the tips you provided are clear and practical. The free templates are a game-changer, too! Thanks for sharing such valuable resources!
This guide is super helpful! The templates look great and I appreciate the step-by-step approach to creating checklists. Can’t wait to put these tips into practice!
Great post! I love the idea of using checklists to stay organized, and the free templates you provided are super helpful. Can’t wait to try them out for my next project!
Great post! I love the detailed breakdown of creating checklists. The free templates are a fantastic resource too— I’ll definitely be using them for my projects. Thanks for sharing!