Ever felt overwhelmed by a mountain of tasks, unsure where to start or how to prioritize? This chaotic feeling is a common challenge, especially in fast-paced work environments. But fear not, there’s a powerful tool to bring order to your workflow: process maps for task management.
Process maps are visual representations of workflows, breaking down complex processes into simpler, manageable steps. By mapping out your tasks, you can gain a clearer understanding of the big picture, identify potential bottlenecks, and streamline your operations.
In this guide, we’ll walk you through the step-by-step process of creating effective process maps. By the end, you’ll be equipped with the knowledge and tools to transform your chaotic workflow into a well-organized system.
Article Outline
Understanding Process Maps for Task Management
Before diving into the creation process, let’s solidify our understanding of process maps in the context of task management.
What are Process Maps?
Imagine a tangled web of tasks—that’s what an unmanaged workflow can feel like. Process maps act like a roadmap, untangling the web by visually depicting your workflow step-by-step. They typically use flowcharts or diagrams to illustrate the sequence of actions required to achieve a specific goal.
Benefits of Using Process Maps for Task Management
Process maps don’t just sit pretty; they offer a multitude of advantages:
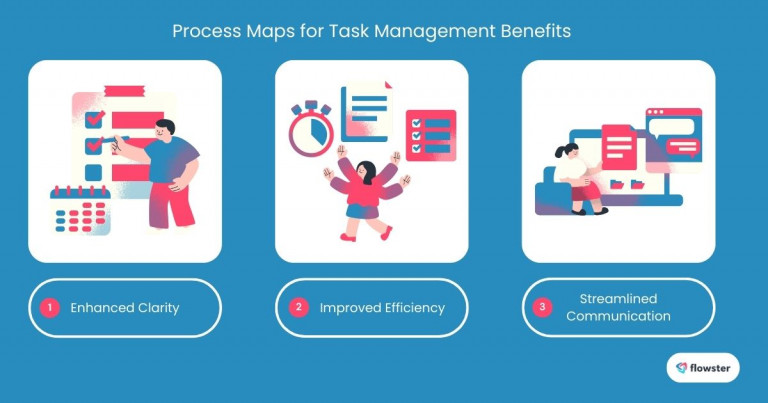
- Enhanced Clarity: By visualizing your workflow, process maps bring clarity to complex tasks. Each step is laid out explicitly, eliminating confusion and ensuring everyone involved is on the same page.
- Improved Efficiency: Identifying bottlenecks and redundancies becomes easier with a process map in hand. This allows you to optimize your workflow, eliminate unnecessary steps, and ultimately get tasks done faster.
- Streamlined Communication: Process maps act as a shared language, fostering clear communication between team members. With a visual reference, everyone understands the process, facilitating smoother collaboration and reducing the need for constant clarification.
Ready to unlock the power of process maps for task management? Learn more about the specific strategies and applications in our comprehensive guide: Understanding Business Process Mapping.

Preparing to Create Your Process Maps for Task Management
Before diving into the creation process, it’s crucial to lay the groundwork. Here’s how to get ready to map your workflows:
Identify the Areas of Focus
Not every process needs a map. Prioritize areas that are complex, time-consuming, or prone to errors. Common targets include:
- Project Management: Map out the stages of a project, from initiation to completion.
- Customer Onboarding: Visualize the customer journey, from initial contact to becoming a loyal client.
- Sales Process: Map the sales funnel, from lead generation to closing deals.
Gather Necessary Tools
With the right tools, creating process maps becomes a breeze. Consider using:
- Dedicated Process Mapping Software: Tools like Lucidchart and Microsoft Visio offer a wide range of templates and features for creating professional-looking diagrams.
- Workflow Automation Tools: Tools like Flowster Capture can help you automatically create process maps from your existing workflows.
Now that you’re prepared, let’s explore the steps involved in creating your own process maps.
Capture Your Processes in Minutes!
Step-by-Step Guide to Creating Process Maps for Task Management
Now that you’re prepared, let’s dive into the practical steps of creating your process map.
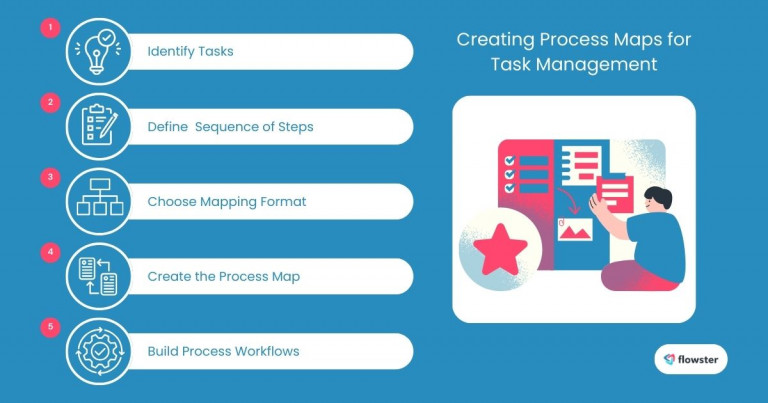
Step 1: Identify Tasks
The first step is to break down your process into its individual tasks. To ensure a comprehensive list:
- Brainstorming: Take some time to brainstorm and list all the tasks, no matter how small they may seem.
- Involve Team Members: Collaborate with your team members to get diverse perspectives and capture all relevant tasks.
Step 2: Define the Sequence of Steps
Once you have a list of tasks, the next step is to arrange them in a logical sequence. Consider:
- Flow of Work: Determine the natural flow of the process, starting from the initial step and moving towards the final outcome.
- Decision Points and Feedback Loops: Identify any decision points where the process might branch off, and incorporate feedback loops to account for potential adjustments.
Step 3: Choose a Mapping Format
The format you choose will depend on the complexity of your process and the level of detail required. Popular options include:
- Flowcharts: Ideal for simple, linear processes.
- Swimlane Diagrams: Useful for visualizing processes that involve multiple teams or departments.
- Data Flow Diagrams: Suitable for processes that involve data input, processing, and output.
To enhance clarity, use a consistent set of shapes and colors to represent different types of activities, decisions, and documents.
Step 4: Create the Process Map
Now it’s time to bring your process map to life. Use your chosen tool to:
- Utilize Templates: Many tools offer pre-built templates to speed up the process.
- Iterate and Refine: Don’t be afraid to revisit and refine your map as you gain more insights.
Step 5: Create Business Process Workflows
Once you have a solid process map, the next step is to transform it into efficient workflows. Check out this helpful guide: 5 Steps to Create Business Process Workflows.

Implementing Your Process Map for Task Management
Now that you have a visual representation of your workflow, it’s time to put it into action.
Share with Your Team
Once your process map and workflow are finalized, share them with your team members. This ensures everyone is aligned and understands their role in the process.
Training and Feedback
To maximize the effectiveness of your process map, consider:
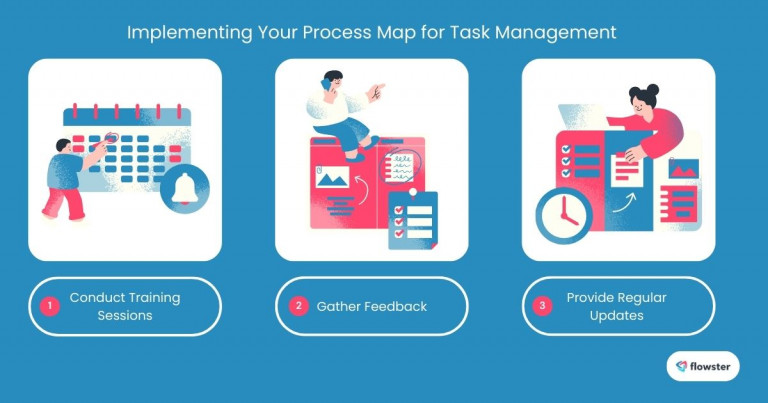
- Training Sessions: Conduct training sessions to walk your team through the map and explain any complex steps or decision points.
- Gathering Feedback: Regularly seek feedback from your team to identify areas for improvement and make necessary adjustments to the map.
By sharing and training your team, you can foster a shared understanding of the process and empower everyone to work efficiently.
Taking Collaboration Further:
For a deeper dive on strategies to effectively involve your team in the process management cycle, check out this insightful article: Process Documentation: Effectively Involve Your Team
To ensure your process maps remain relevant and effective, it’s important to continuously monitor and improve them. Let’s explore how to do that in the next section.

Continuously Improve Your Process Maps for Task Management
A process map is a living document, not a static one. To ensure it remains a valuable tool for your team, it’s essential to continuously monitor and improve it.
Regular Reviews
Schedule regular reviews of your process map to:
- Identify Bottlenecks: Look for areas where the process slows down or gets stuck.
- Spot Inefficiencies: Pinpoint tasks that are redundant or unnecessary.
- Assess Compliance: Ensure the process aligns with company policies and industry standards.
Adapt to Changes
As your business evolves, so too should your processes. Be prepared to:
- Update the Map: Make necessary changes to the map to reflect new tasks, procedures, or technologies.
- Train Your Team: Communicate changes to your team and provide any necessary training.
By staying proactive and continuously refining your process maps, you can unlock their full potential and drive efficiency and productivity within your organization.
Deepen Your Improvement Efforts:
For an even more comprehensive approach to process improvement, explore this insightful guide: How to Identify Areas for Process Improvement. This article dives deeper into strategies for analyzing your workflows and pinpointing areas for optimization.
Flowster's AI-Driven Automation
Conclusion: Elevate Your Task Management with Process Maps
Process maps are a game-changer for task management. By providing a clear visual representation of your workflows, they enhance clarity, improve efficiency, and streamline communication.
Ready to take the next step?
Start mapping your business processes today. To help you get started, check out the free workflow templates available on the Flowster Marketplace. With these templates, you can quickly and easily create professional-looking process maps tailored to your specific needs.
Don’t let chaos reign in your workflow. Embrace the power of process maps and unlock a more efficient and productive future.


