Table of Contents
How to use the Marketplace
Intro
The Flowster Marketplace is essentially “an Amazon for eCommerce Playbooks”.
Sellers can list collections of templates (we call these Playbooks) and buyers can search or browse the various listings, add Playbooks to their cart, and checkout.
Sellers can also list Playbooks privately, so that they are NOT searchable in the Marketplace.
After a buyer successfully checks out with a credit card or PayPal payment, the appropriate folder(s) and Playbook(s) are automatically copied into their Flowster account.
For Buyers
1. Add Playbooks to your Cart
https://in.flowster.app/marketplace
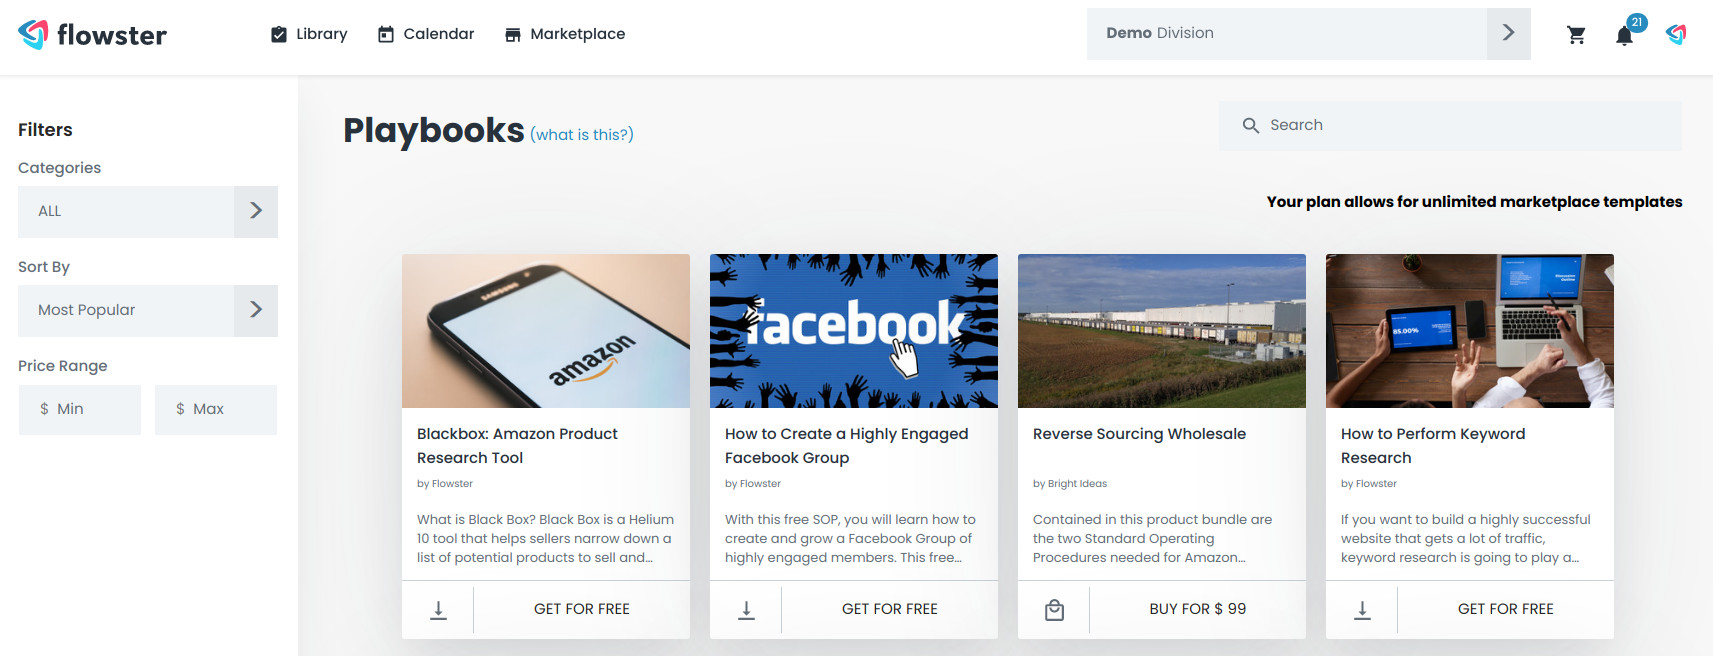
From the main Marketplace page, you can browse or search for the Playbook that interests you:
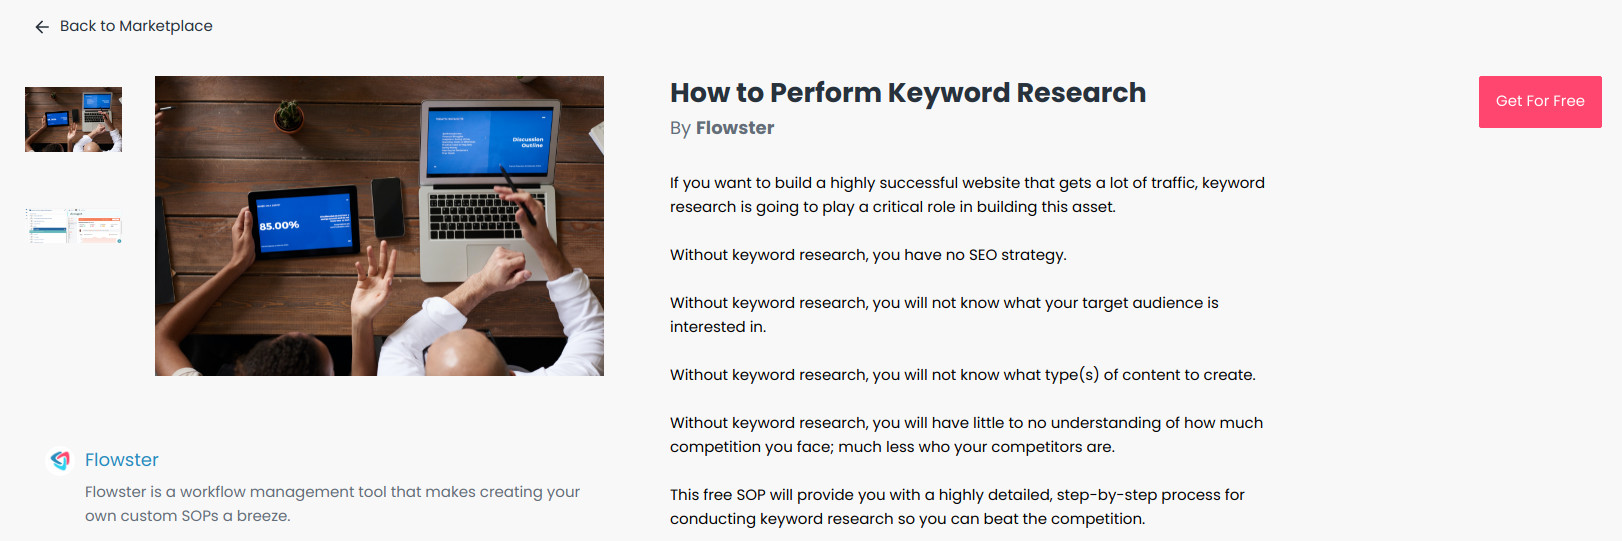
Then click it to open its detail page:
If you’re happy with the details of this Playbook, you can then click the Get For Free button.
Note: this example playbook is free, however others could have a 1-time or monthly/annual fee.
2. View your Cart
Your Cart will contain all the Playbooks you plan to purchase.
You can delete them if you change your mind, and also enter Promo Codes (if you’ve been given one).
3. Checkout
Inside your Cart click the PROCEED TO SECURE CHECKOUT button:
If your cart balance is $0.00 (ie all the Plabooks are free), the checkout will happen instantly.
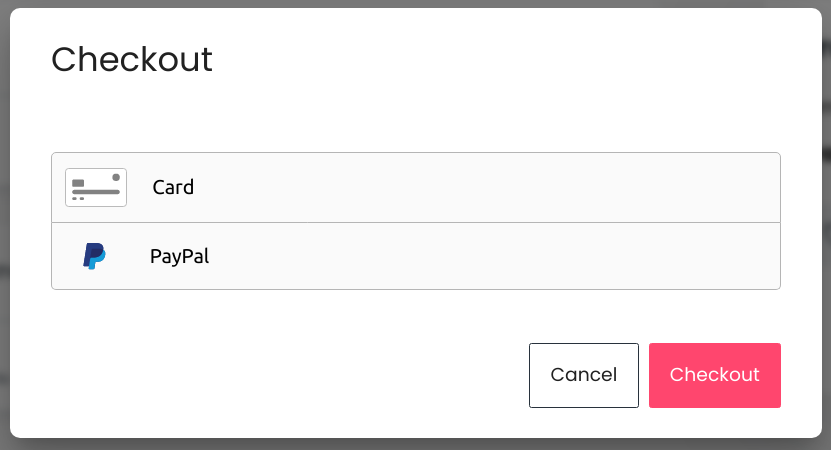
Otherwise, on the dialog that appears, you can choose to pay with a credit card, or PayPal:
After successfully completing the checkout process, for each Playbook that was in your Cart, its contents will have been copied to your account.
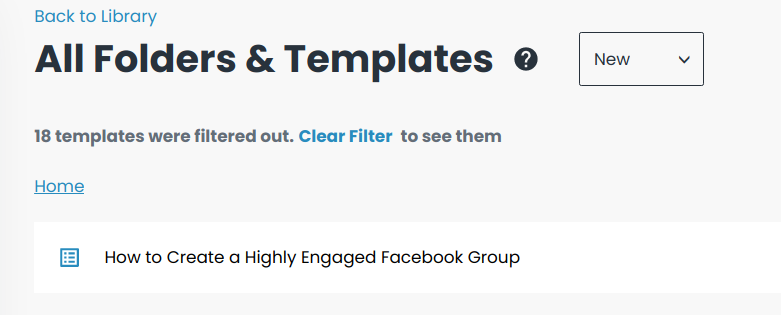
You should then be able to see the new folders or templates here: https://in.flowster.app/folders:
4. Using Promo Codes
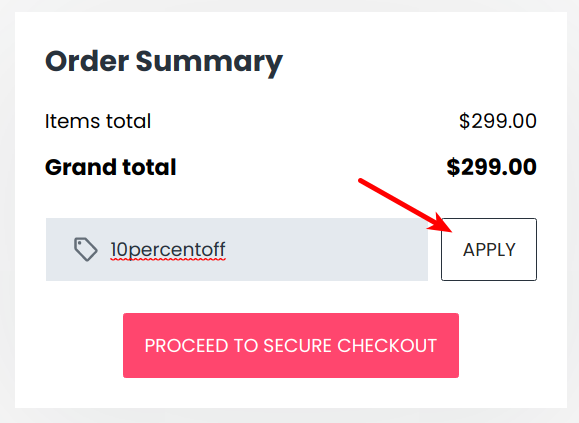
If a Marketplace Seller has given you a Promo Code, you can enter it the “Promo Code” field on the Cart page and click the APPLY button:
https://in.flowster.app/cart
(in this case, this code is setup to give a 10% discount)
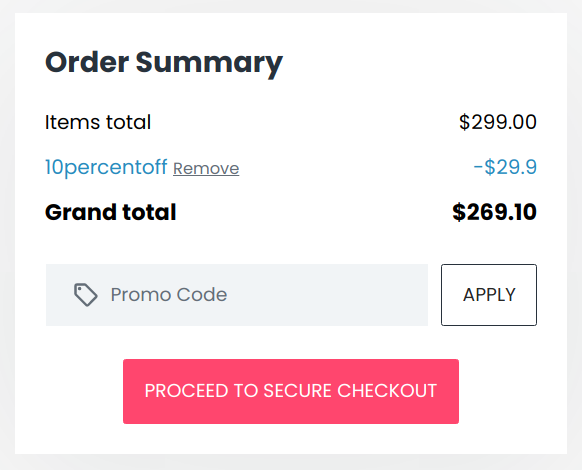
You should then see the discount applied and your total be reduced:
For Sellers
Note that each product you want to sell in the marketplace will need to be reviewed by Flowster’s editorial team. If you’re unsure if your content is eligible, don’t hesitate to reach out to us first.
1. Setup your Seller Profile
https://in.flowster.app/marketplacesettings/profile
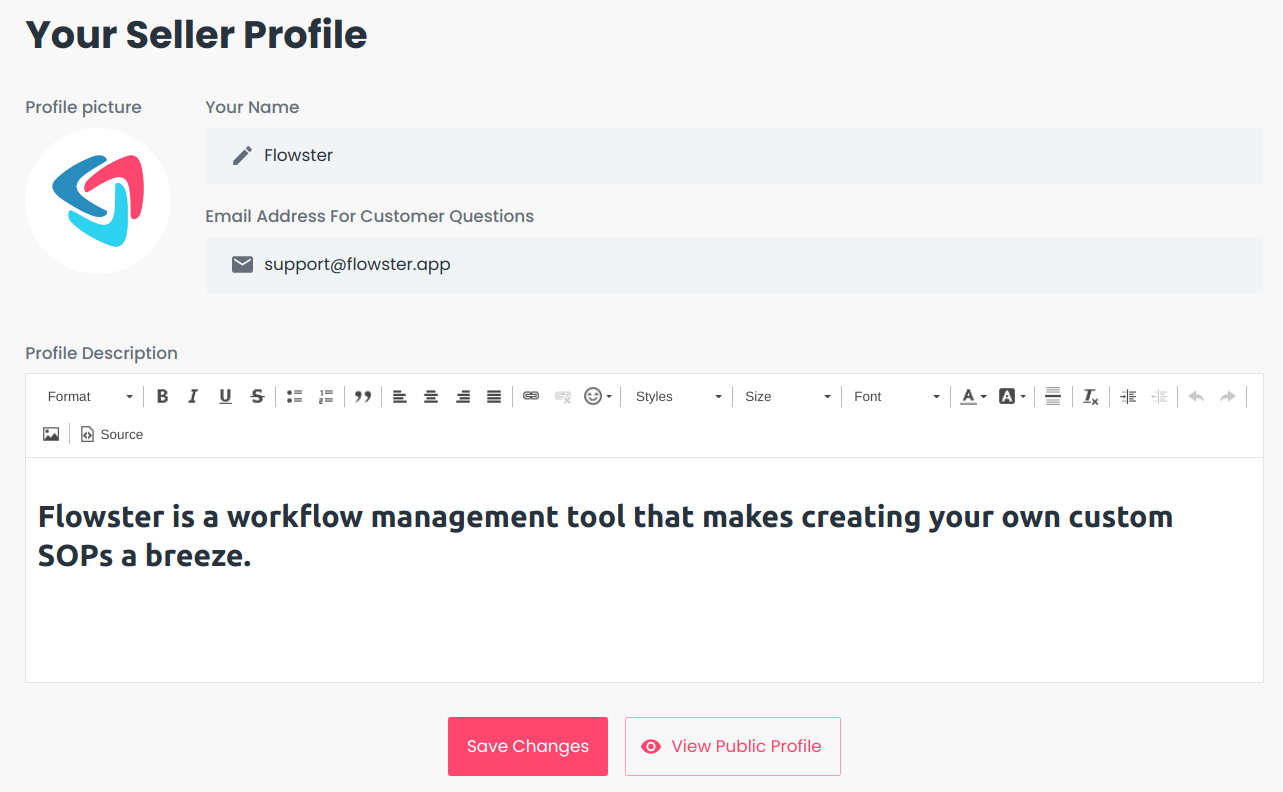
This will be displayed on the detail page of any Playbooks you add for sale to the Marketplace. It represents your “brand”.
The example above is pretty basic. Feel free to use your creativity, colors, images, emojis 🤪 … whatever you think will sell your brand better!
2. Sell your Playbook
If you plan to sell numerous products in the Marketplace, check out this free Playbook: Sell A Playbook In The Marketplace. It’ll walk you through the process that we at Flowster use ourselves, step-by-step, and is detailed enough that you can easily assign it to a staff member.
Otherwise, here’s the high-level steps:
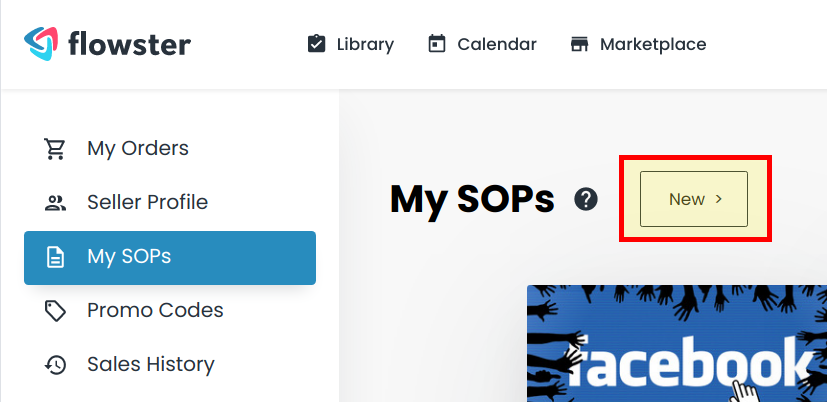
Step 1: Go to the My SOPs page
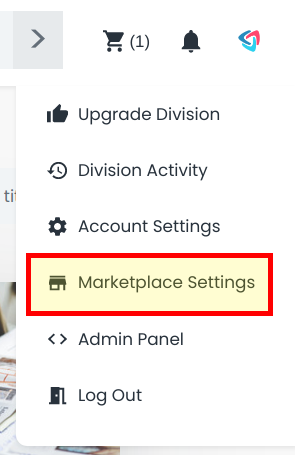
From the menu at the top right, select Marketplace Settings:
Then select My SOPs from the left side panel, and the New button:
https://in.flowster.app/marketplacesettings/sops?new=1
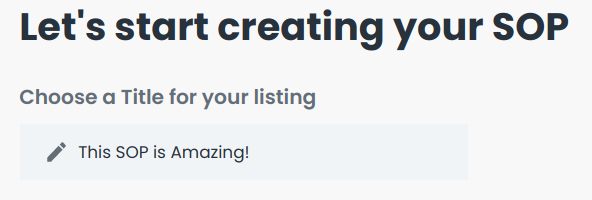
Step 2: Enter a Title
Choose something that accurately described your product:
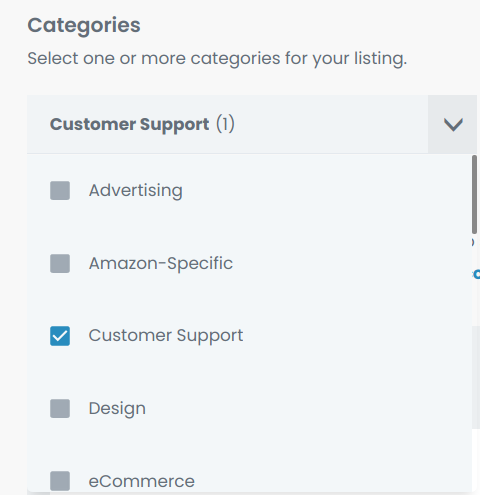
Step 3: Choose Categories
Select one or more categories that are appropriate for your Playbook:
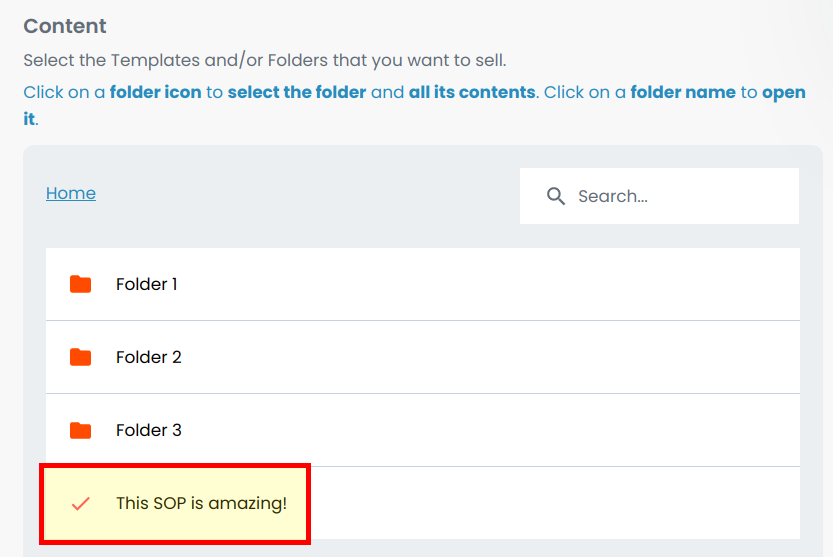
Step 4: Select the Content
Now select whatever folders and/or templates you want to include in your product:
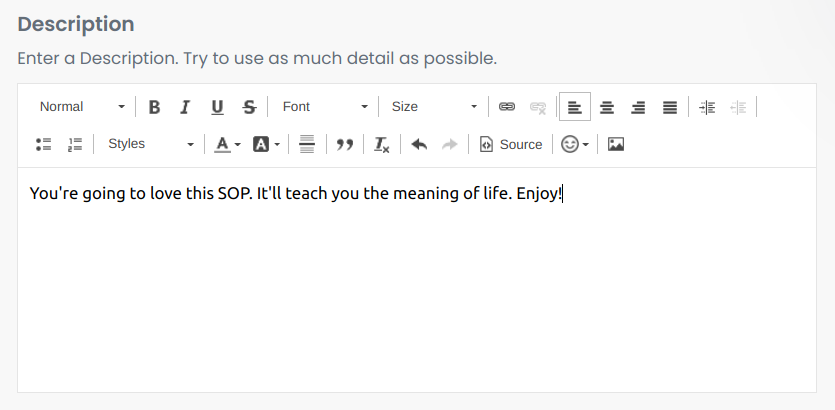
Step 5: Enter Description
Enter a detailed description of your Playbook. You can get really creative here if you’d like! You may want to look at other examples in the Marketplace to get inspiration 🙂
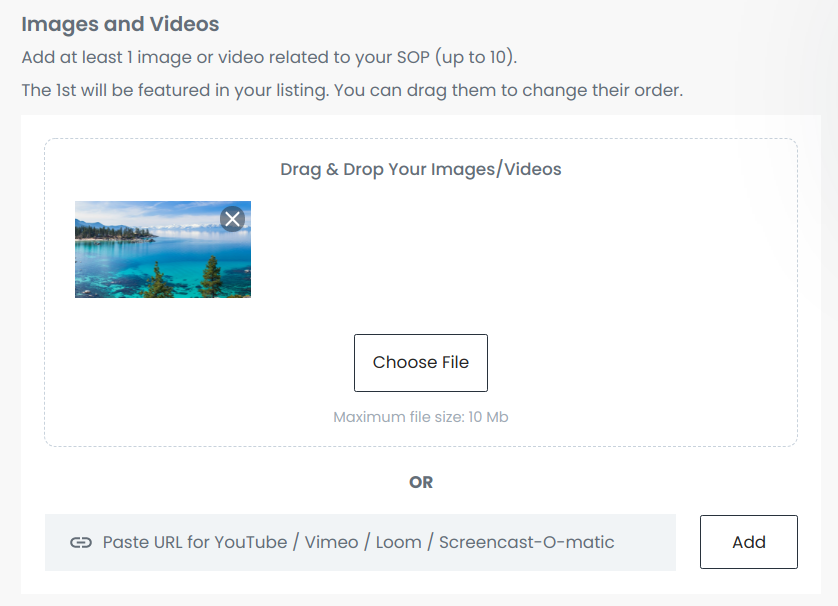
Step 6: Add Images or Videos
Now, you can add images or videos to your Playbook listing:
For videos, you can either upload the file directly (<10 MB) or add a link to a YouTube or Vimeo video.
You can also drag and drop the images and videos to change their order. Note that the 1st one will be “featured”.
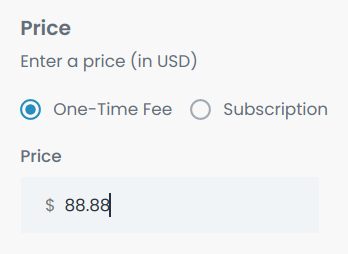
Step 7: Enter a Price
Finally, decide how much you want to sell your Playbook for! Make sure to enter the value in US dollars. Also, if you want to give it away for free, just leave it at $0.
Step 8: Choose the Privacy Level
If you don’t want your product to be searched/browsed in the marketplace, and would rather share the link directly with your customers, check this box:
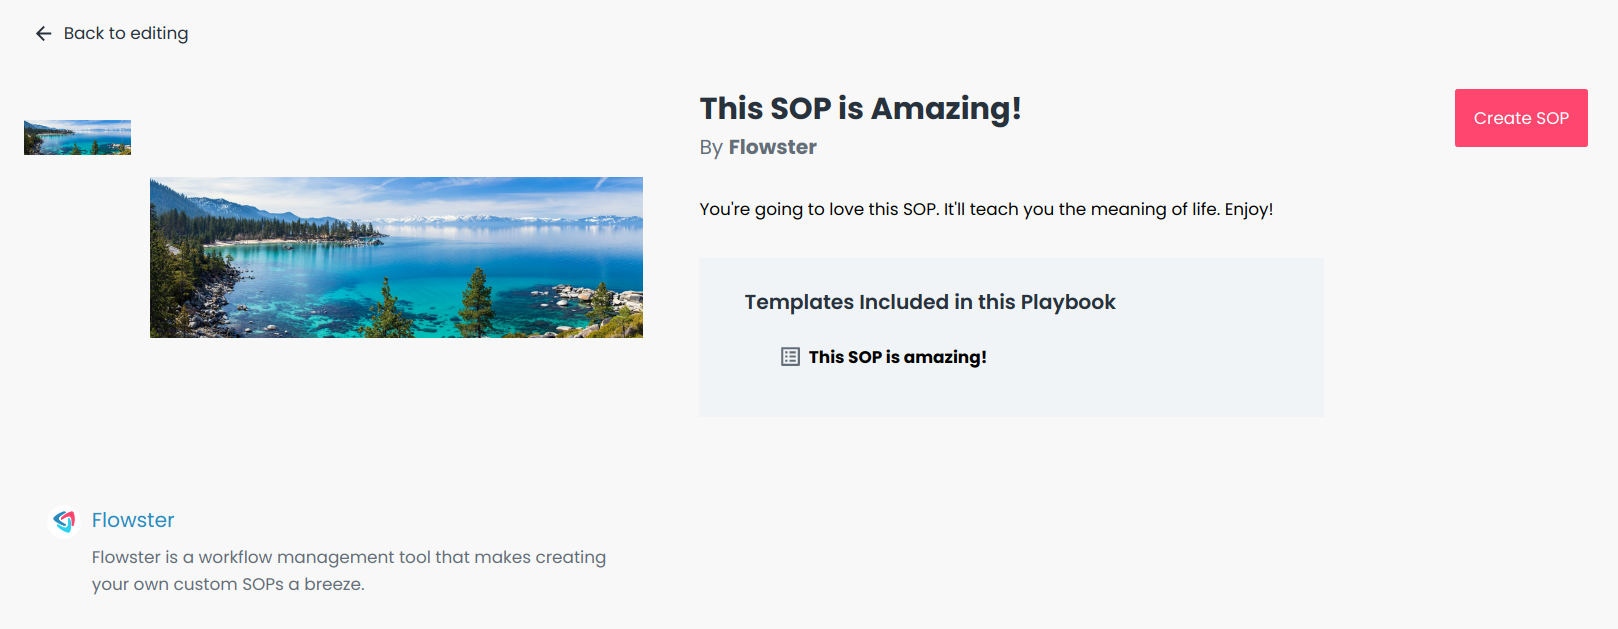
Step 9: Preview and Submit
Click the Preview SOP button at the bottom of the page:
Then check out how your product listing looks. If all is good, click Create SOP. If you need to make additional updates, click Back to editing.
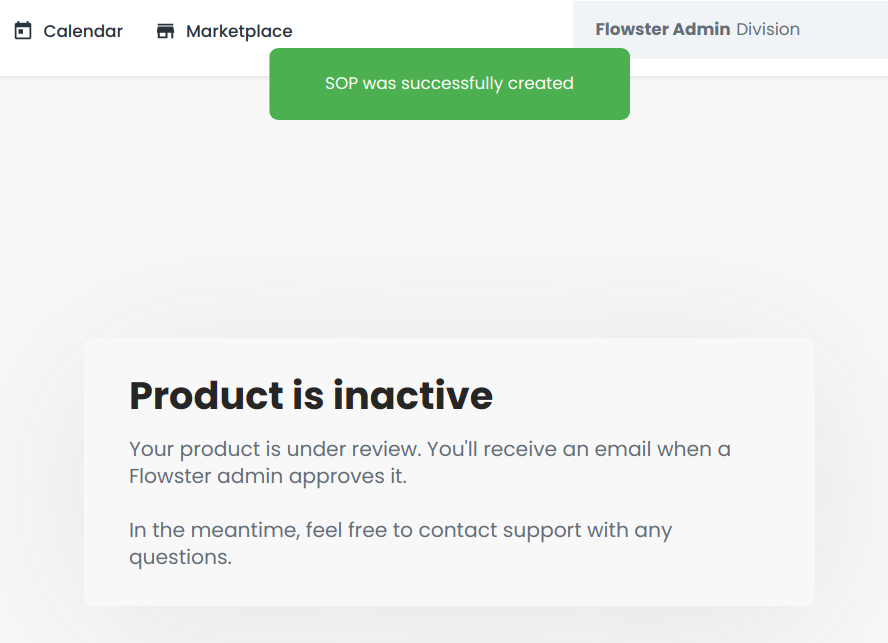
After clicking Create SOP you’ll see this page:
Once a Flowster admin approves your product, you’ll receive an email that it’s live 😀
3. Edit Your Playbook
There’s two methods to start editing your Playbook:
From the Playbook detail page
Here’s an example of a live playbook that’s in the marketplace:
Since we’re the seller, the Edit SOP button appears. Click that to edit it.
From the My SOPs page
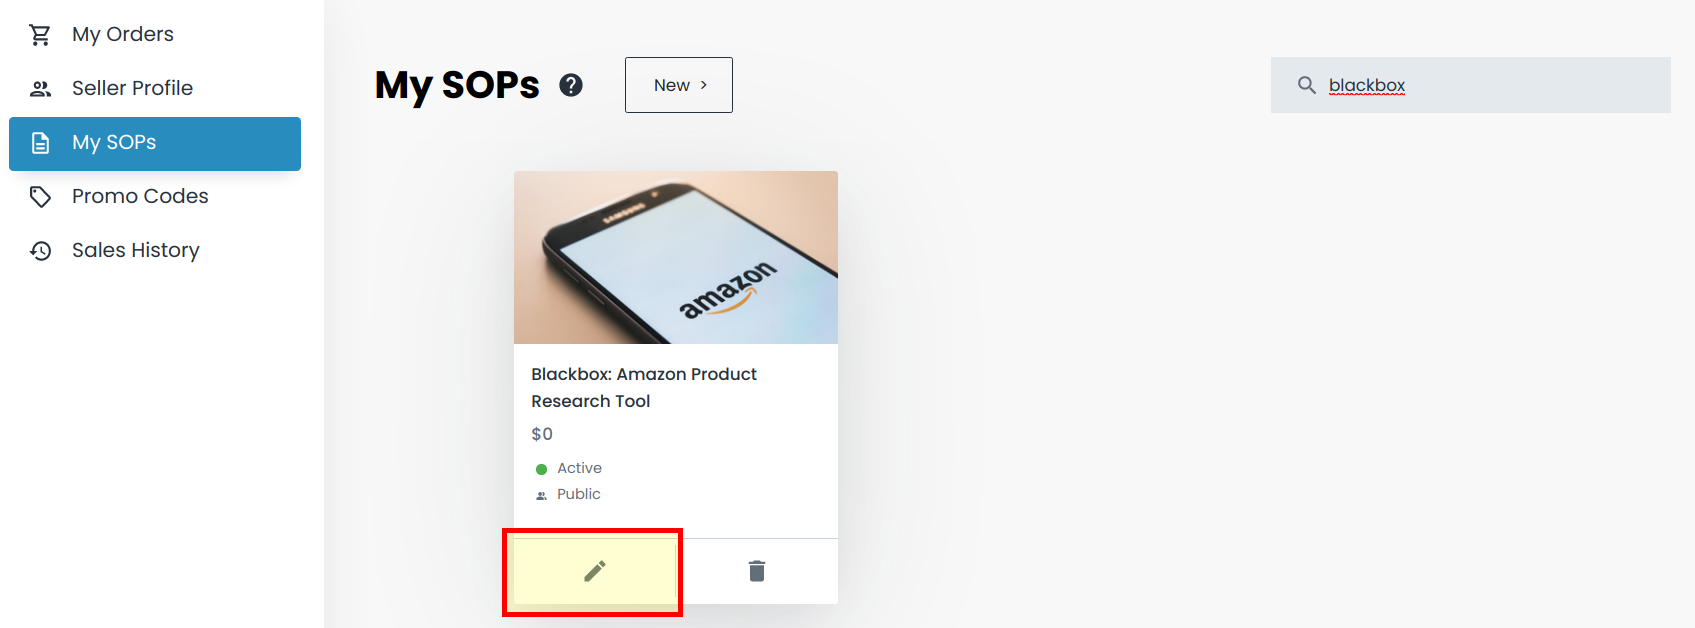
Go to https://in.flowster.app/marketplacesettings/sops:
Browse or search for your product, then click the pencil button to edit it:
Also notice that you can delete it, if you no longer want it to be for sale in the Marketplace.
Make whatever changes you want, then Preview and Save (similar to when adding a new SOP).
Note: you cannot change the Folders or Templates that your Playbook contains. If you want to do this you’ll have to add an entirely new Playbook to the Marketplace.
4. Promo Codes
https://in.flowster.app/marketplacesettings/promocodes
Promo Codes give your buyers a discount on your Playbooks.
Start by clicking the New Code button:
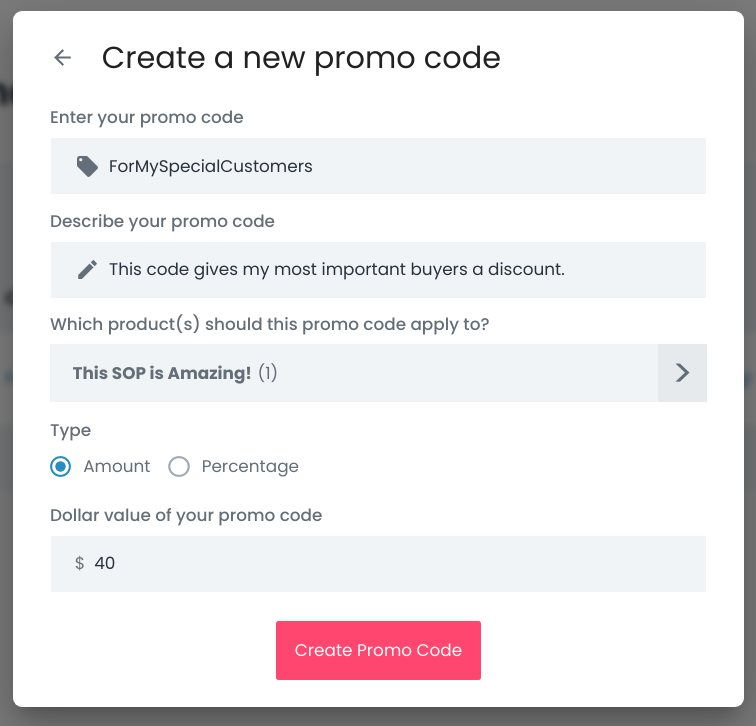
Then, fill in all the fields:
- Promo Code: the unique code that your buyers will use to receive the discount.
- Description: this is just for yourself, so you remember what the code is used for.
- Product(s): select the Playbook(s) that this promotion applies to. A single Promo Code can apply to multiple Playbooks.
- Type: either Amount (in US dollars) or Percentage.
- Value: depending on what you selected for “Type”, enter dollars or percentage values here.
Finally click Create Promo Code to create it.
5. Payments
We’re using the popular iDevAffiliate software to manage our Marketplace seller payments. This is the same software we’re using for our Affiliate program.
Here’s how it works:
- When you first list a Playbook for sale in the Marketplace, an account in iDevAffiliate is automatically created for you, representing you as a Seller.
- When someone buys your Playbook, Flowster receives 15% of the sale, and therefore you receive 85%. This 85% is represented as a “commission” in iDevAffiliate.
- Approximately 15 days after the sale date, you will be paid from Flowster. Payment is made to your PayPal or Stripe account.
To access your iDevAffiliate account:
You should have received an email with the subject “Flowster Marketplace Seller Account Details“, that contains your username and password, however if you cannot locate that email, visit this page:
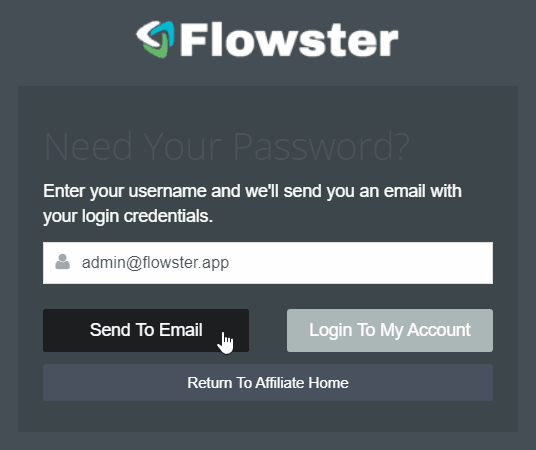
https://affiliates.flowster.app/login.php?lost_password=true
Enter the email address associated with your Flowster account in the “username” field, and click “Send To Email” to have your password sent to your email.
To setup your payment method:
https://affiliates.flowster.app/account.php?page=48
Select whether you want to be paid by PayPal or Stripe:
PayPal:
Simply enter your PayPal email address:
Stripe:
Stripe is a service that pays directly to your checking account.
First click “Connect with Stripe”:
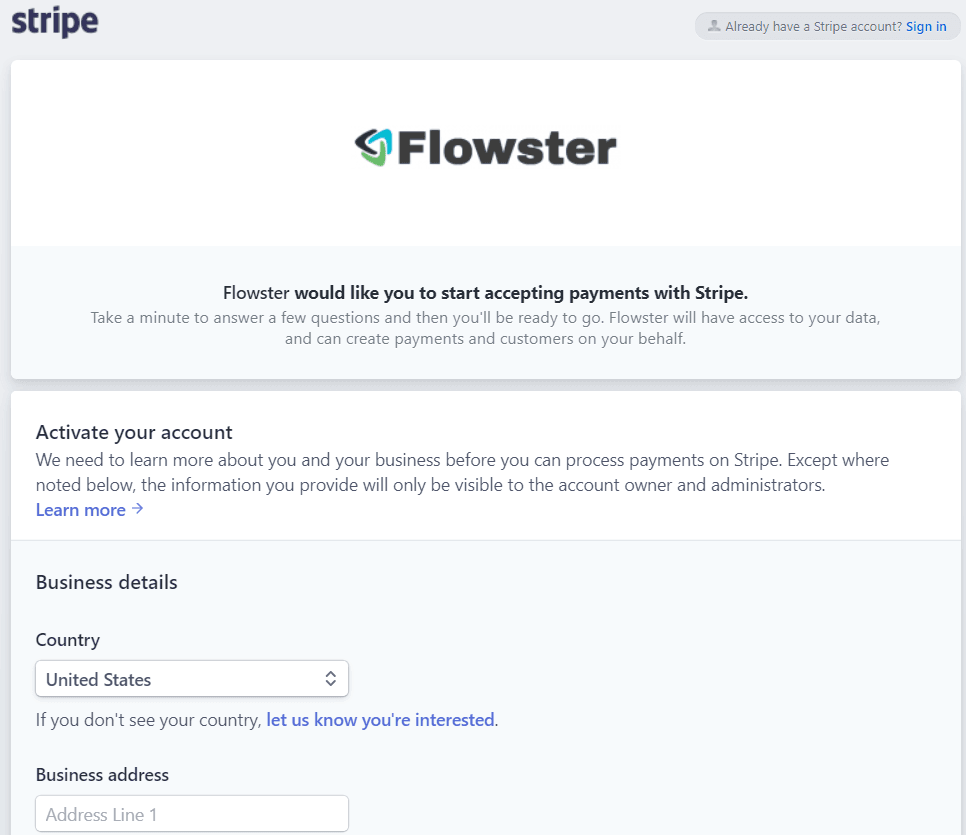
Then, if you already have a Stripe account, you can sign in, or otherwise fill out the form to create a new account:
6. Sales History
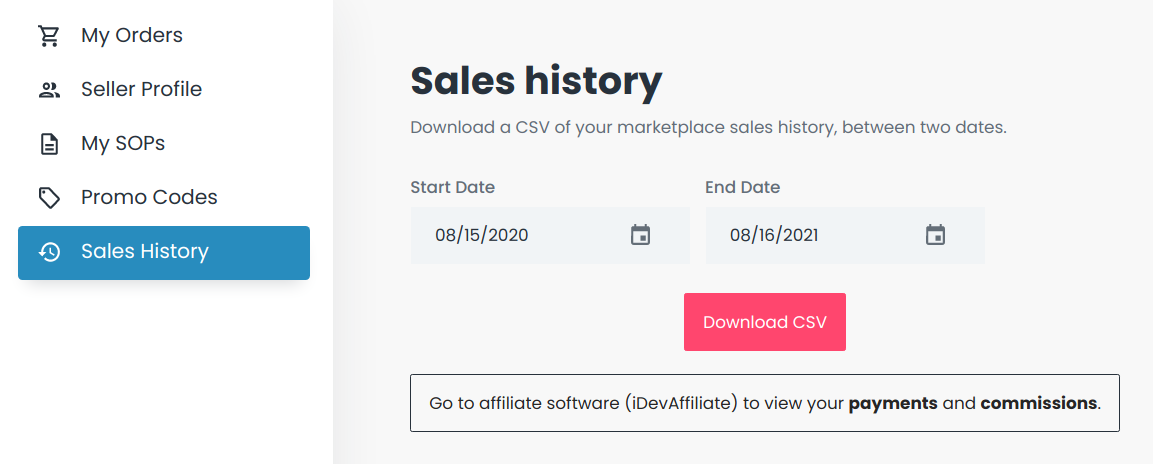
To get a report that shows sales history for your Playbooks, go to Marketplace Settings > Sales History
Select a Start Date and End Date, then click the Download CSV button.
Here’s a sample report:
7. Promoting Your Playbook
Automatically Add To Cart
If you want to promote your Playbook outside of the Marketplace, for example, to your mailing list, where you’ve pre-sold it and want your customers to be able to access it as quickly as possible, you can use a special link that will automatically add your Playbook to their shopping cart.
Here’s how it works:
- Locate your Playbook URL (either from the main Marketplace page (right-click “copy link”), or your Playbook detail page). It will look something like https://in.flowster.app/marketplace/grow-an-audience-through-curating-content/5ca9348cc396e50a61eea370
- Simply add /cart to the end of it, like https://in.flowster.app/marketplace/grow-an-audience-through-curating-content/5ca9348cc396e50a61eea370/cart
Automatically Apply a Promo Code
Now if you have a promo code setup for your Playbook, and want your customers to simply click a link to automatically:
- Add your Playbook to their cart
- Apply the promo code
… all in a single click. Here’s what you do:
- Start with the special “add to cart” URL described above: https://in.flowster.app/marketplace/grow-an-audience-through-curating-content/5ca9348cc396e50a61eea370/cart
- Add ?promo=yourcode (where “yourcode” is your unique promo code) to the end of it, like https://in.flowster.app/marketplace/grow-an-audience-through-curating-content/5ca9348cc396e50a61eea370/cart?promo=yourcode
Subscription Products
You can optionally add &interval=monthly or &interval=yearly to the end of the URL above in order to automatically add whichever type of billing period to the cart
